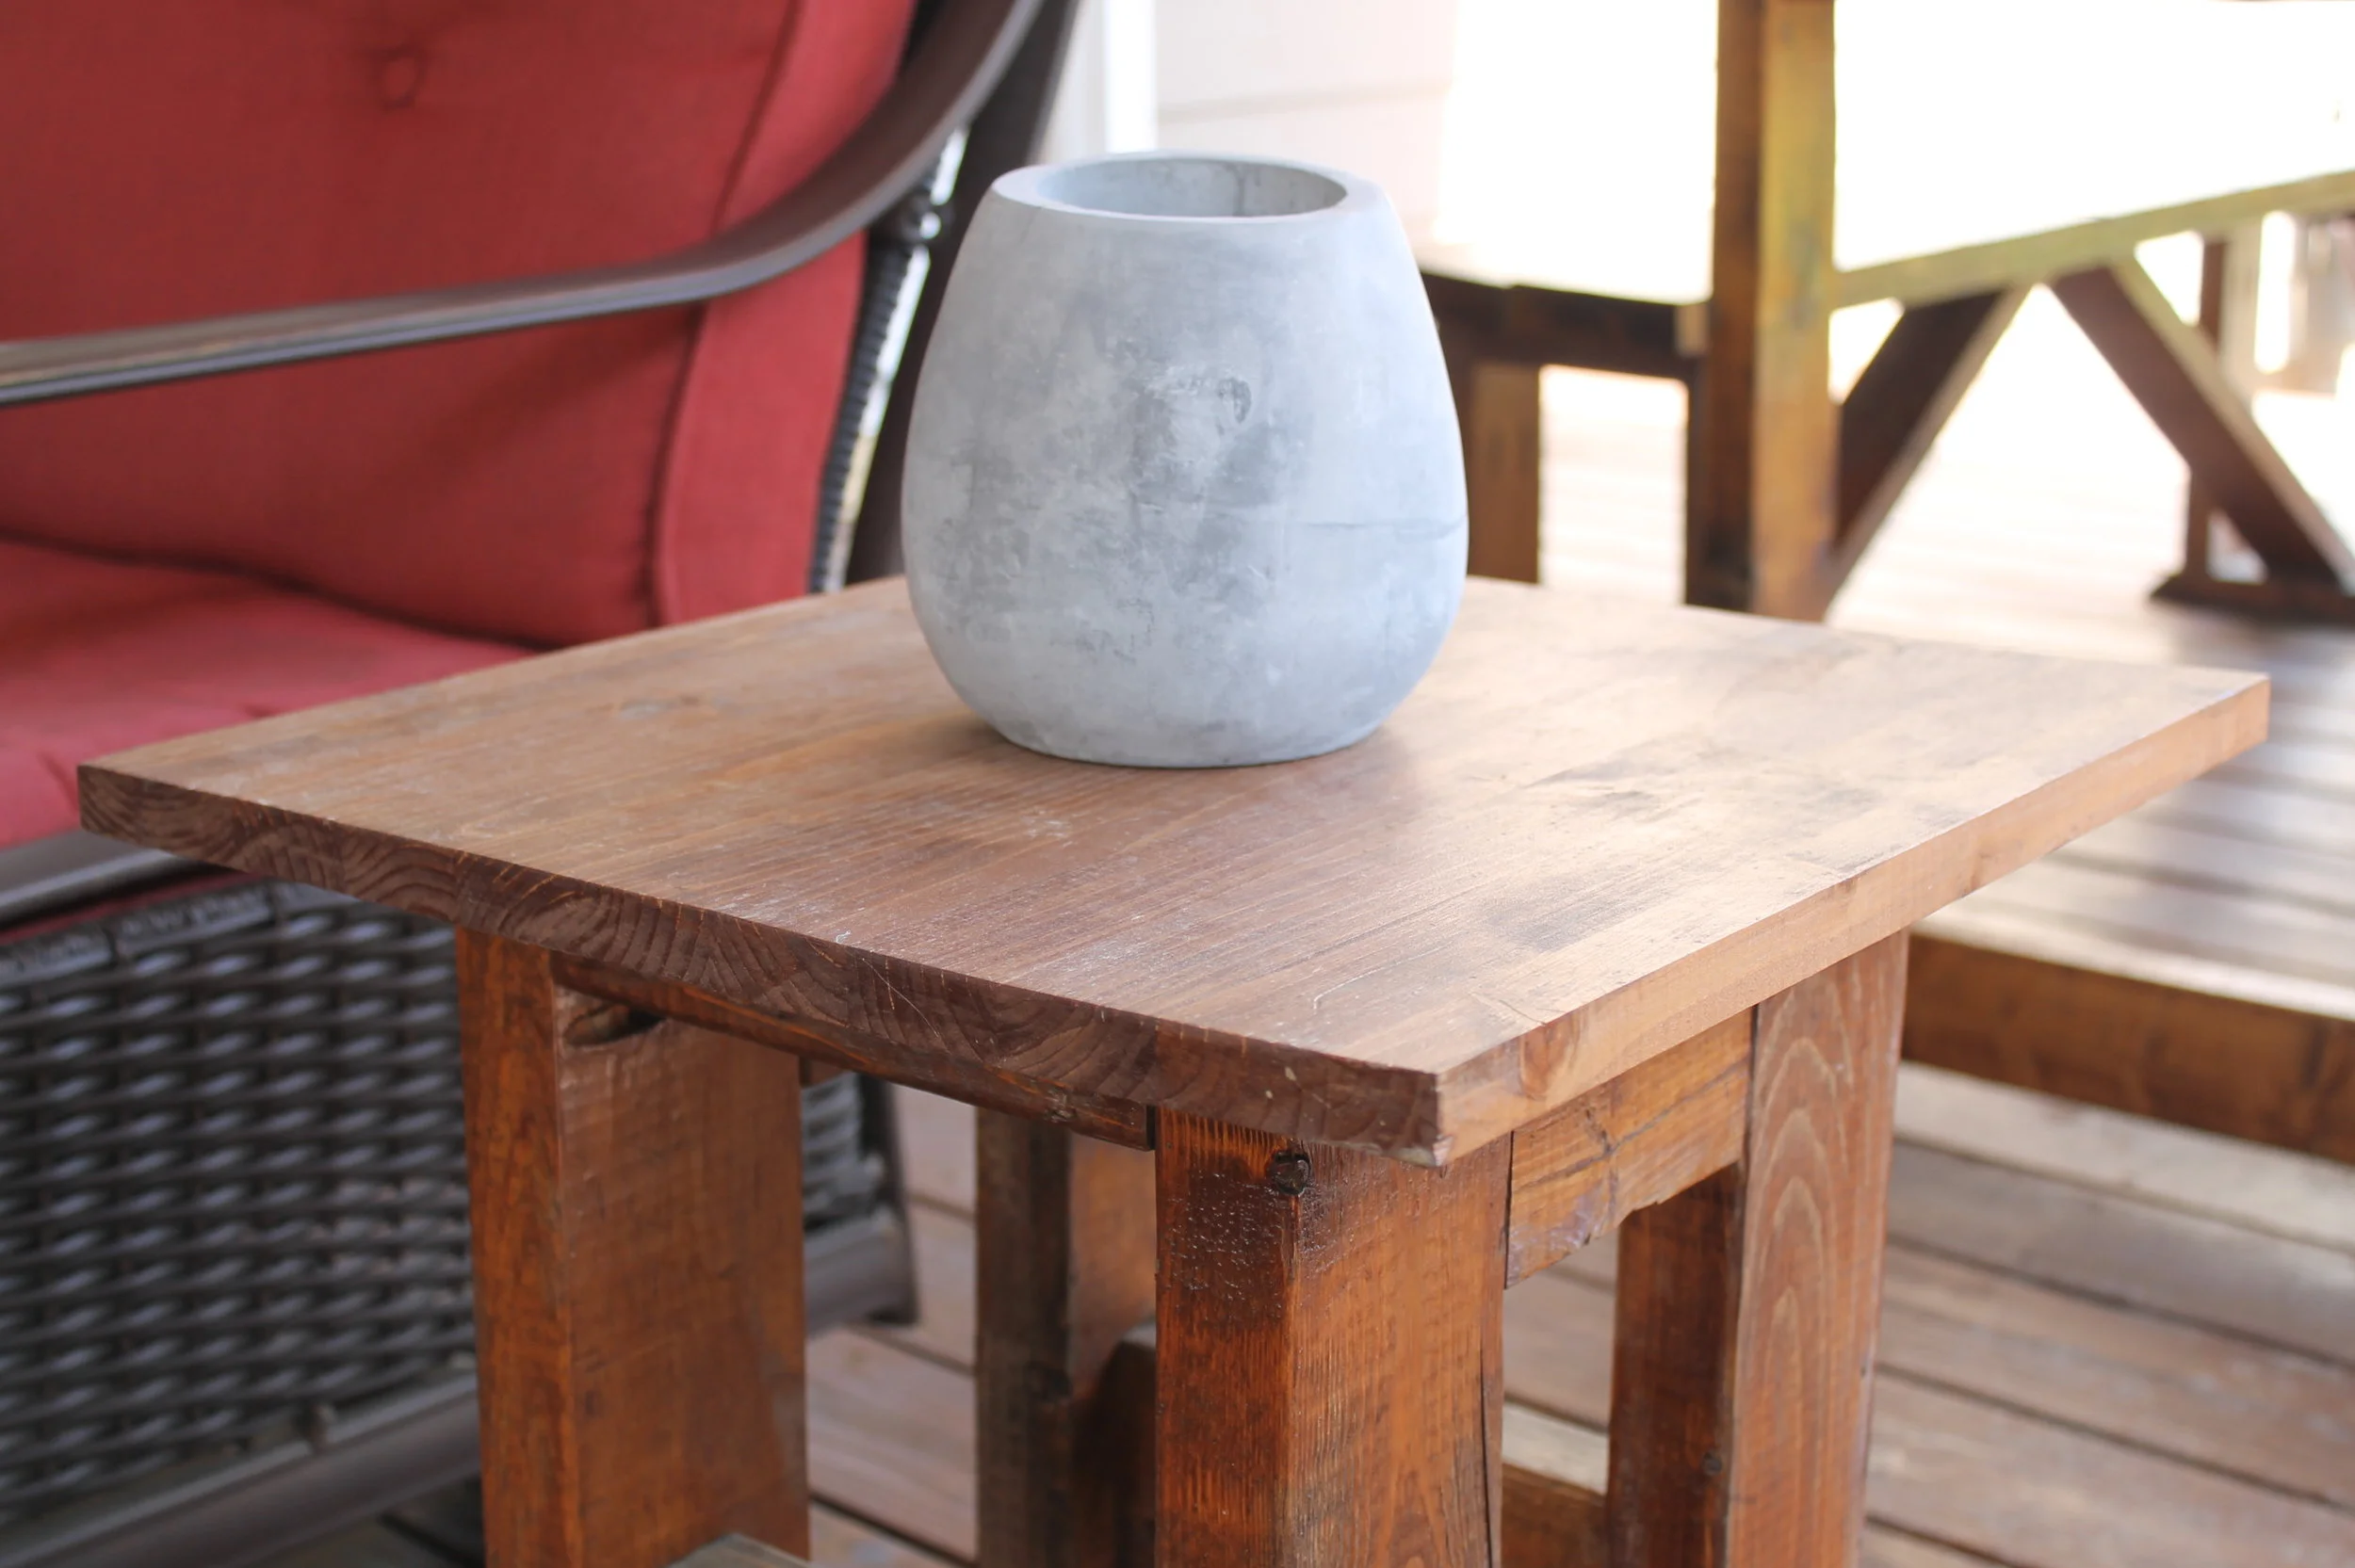
Rustic 2x4 End Table
This is a very simple end table that I made a few years ago. It's a great first project that you can easily do in one day. Let's get started!
Materials:
2 - 2x4 at 8 feet
1 - 16 inch wide panel of edge glued wood
Stain/Finish
Tools:
Miter Saw (optional)
Table Saw (optional)
Circular Saw (optional)
Step 1: Cutting the Lumber
You may notice I listed all saws as optional in the Tools above. That's because you could get the guy at your local hardware store to do the cuts for you. If you aren't going to do that, you at least need a circular saw. I did this project with only a miter saw and circular saw.
Let's start with the 2x4's. You'll need to cut them to the following lengths.
A) 4 Legs - 19.25 inches
B) 2 Side Beams - 5 inches
C) 2 Cross Supports - 9 inches
Next, you'll need to cut a section of the edge glued wood for the top. Since the panel purchased is 16 inches wide, measure 16 inches of length to get a square top. Use your circular saw (or table saw) to cut the panel to length. This is also something you could have cut at the hardware store when purchasing the lumber. Finally, if you're going to make multiple end tables, get a panel long enough to support all of the table tops you need.
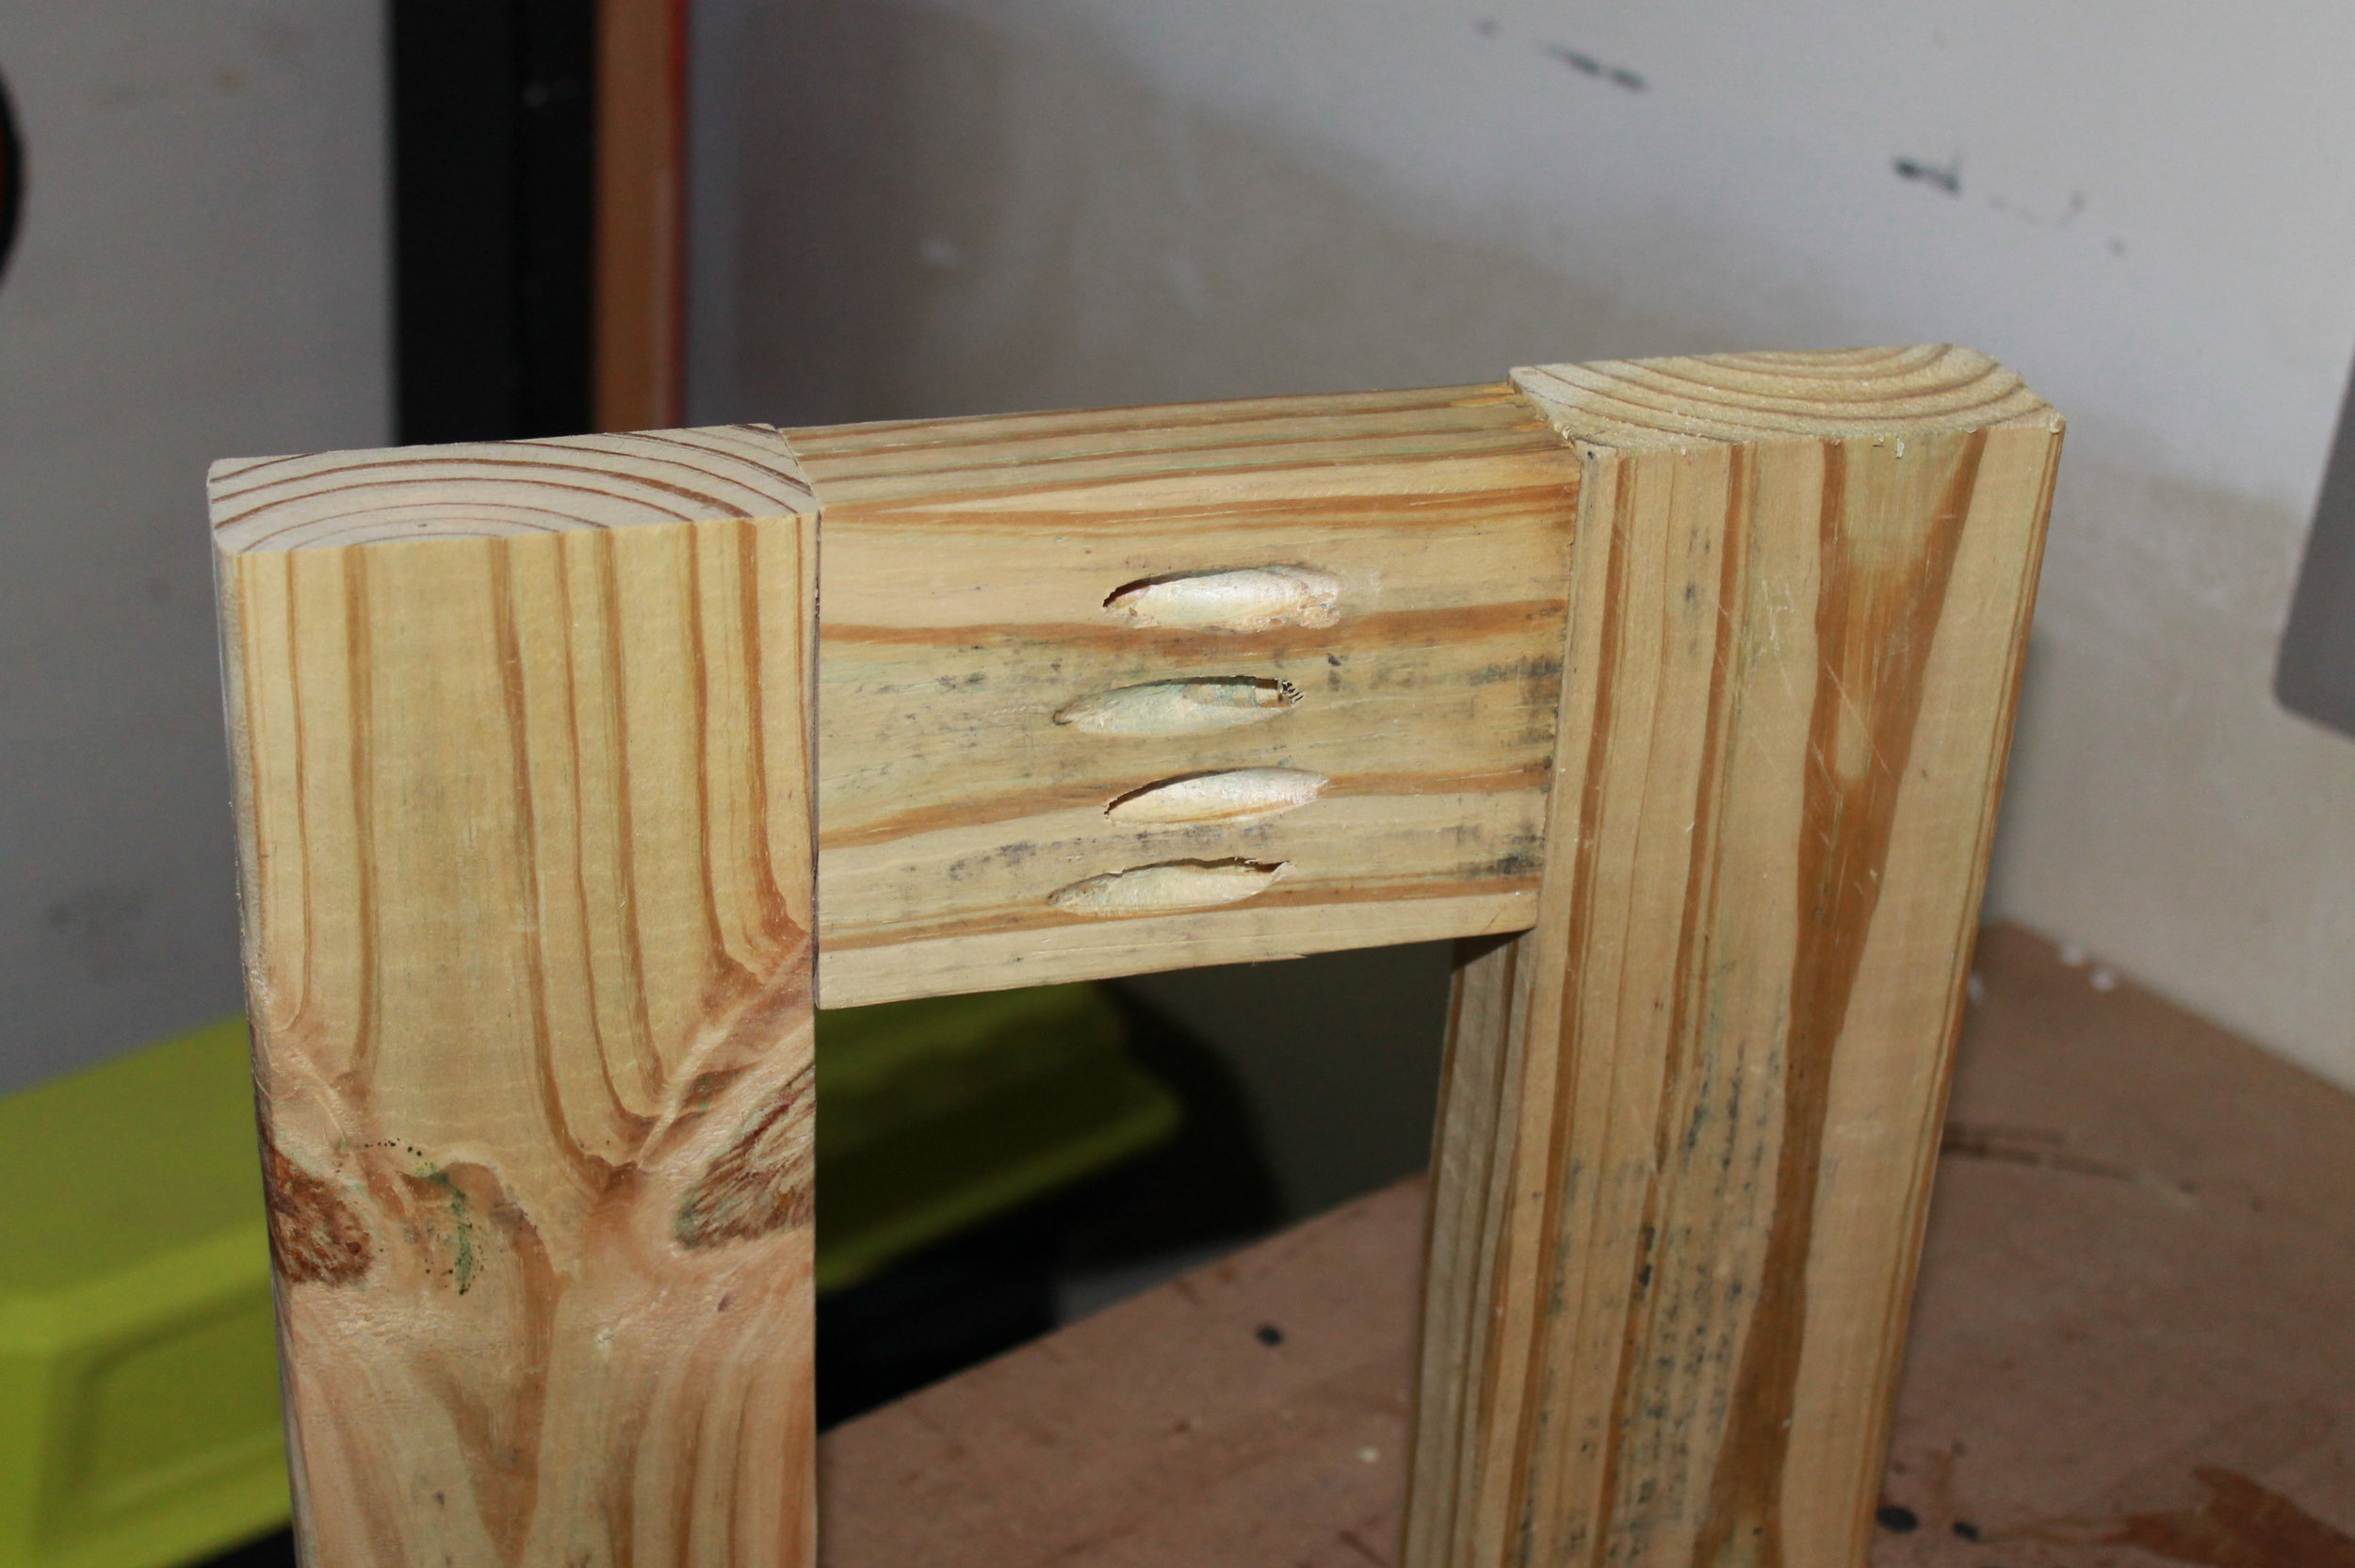
Step 2: Drilling the Pocket Holes
Drill pocket holes at the ends of the side beams and cross supports using the Kreg Jig. The legs do not need any pocket holes. Remember to drill your pocket holes on the same face of the wood! Since the side beams are so short, you will need to make the holes very close together as shown below. Make sure to drill two holes in each direction.

Step 3: Assembling the Sides
Attach two legs to each side beam using the 2.5 inch Kreg pocket hole screws. You should end up with two pieces that match the picture below.
Step 4: Add the Cross Supports
Now you want to add the Cross Supports to the two pieces you just created. It's easiest to do this with the legs on their side. If you have a Kreg Right Angle Clamp, this is a great time to use it. You want the pocket holes to face the top of the table. This will not only conceal the pocket holes, but it also helps for assembly. If you face the pocket holes down, it can be difficult to fit the drill in between the table legs. Once complete, your table base should look like this.

Step 5: Add the Top
Now all you need to do is add the top! Place the 16x16 edge glued panel on your workspace. Make sure the side that will show is on your workspace. Next, flip the table base upside down and center it on the table top. Finally, fasten the table top to the base using the 2 inch deck screws. Make sure not to over drive the screws, or they will go through your table top.

Step 6: Finishing
Flip the table over and it's done! now apply the finish of your choice. I keep mine outside, so I first applied a stain with a rag. After letting the stain dry, I applied multiple coats of polyurethane. If you like the color of my table, I used English Chestnut Minwax Wood Finish (Note: I love this stain! I use it on most of my projects.). For the poly, I used Minwax Helmsman Clear Gloss Spar Urethane.
Wrap Up
I hope you like these plans. This is a great first project if you're new to woodworking. I've had my tables on my deck for a few years now, and they are still holding up. If you build an end table with these plans, please share a picture in the comments below!

